

Nail Essential Set
Shine, strengthen, and safely remove with this powerhouse set. Get salon-level gloss with Glazed Top Gel, gently cleanse with the Got to Go Remover—a non-drying, hypoallergenic formula that makes gel strip removal a breeze, and protect and nourish with the Power Up Nail Strengthener. Everything you need for flawless nails, start to finish.
HOW TO APPLY
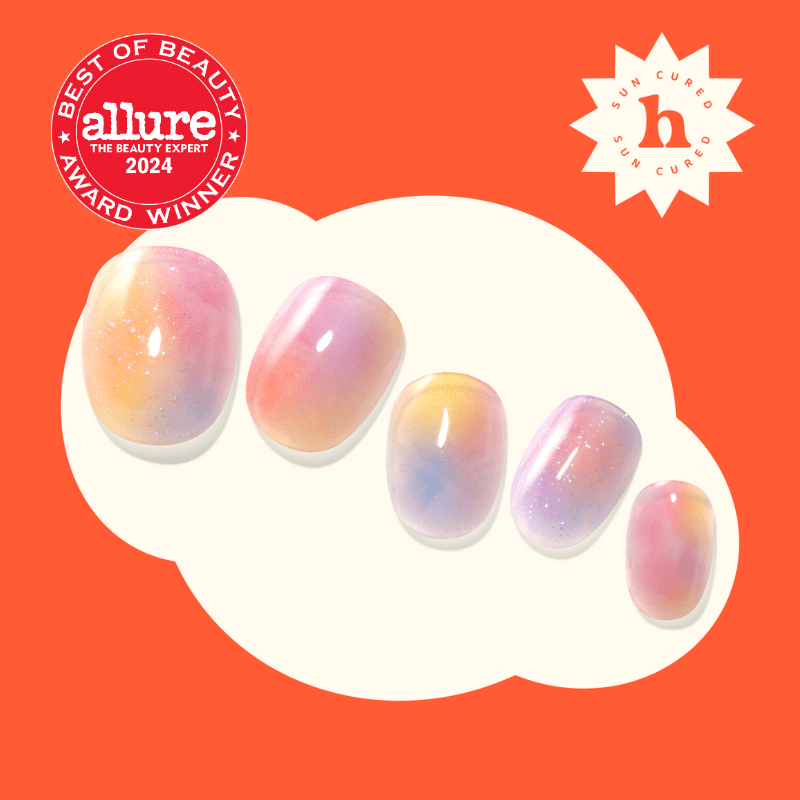
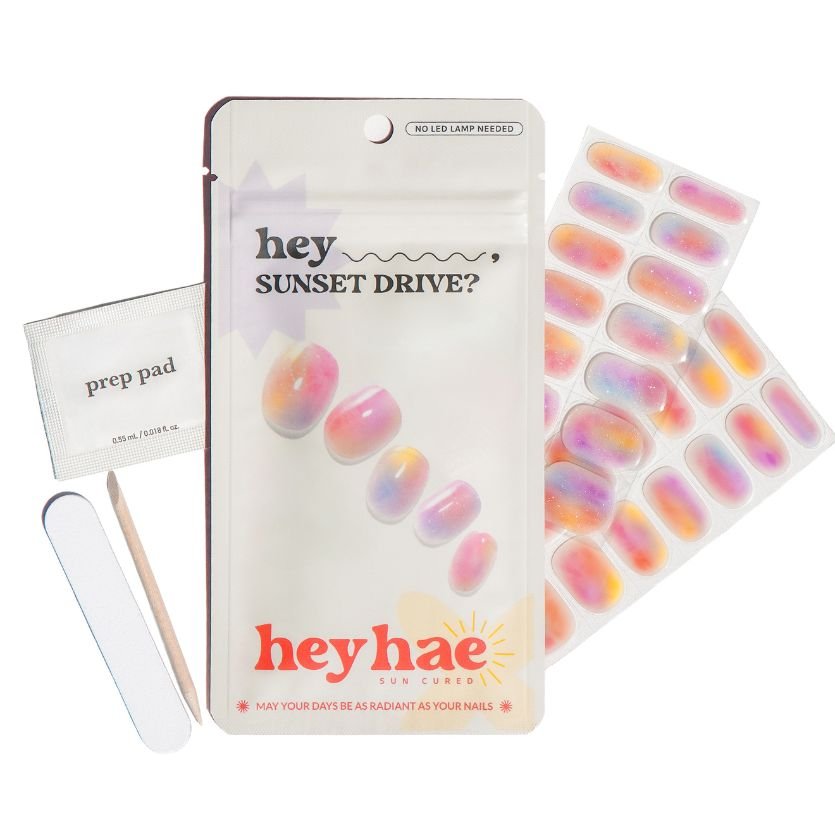
Nail Strips
Start with clean, prepped nails, choose the right size, and apply the gel strip from the cuticle outward. Warm the strip with your palm for flexibility if necessary, trim excess, and cure in sunlight or under a UV lamp — then file to your desired shape!
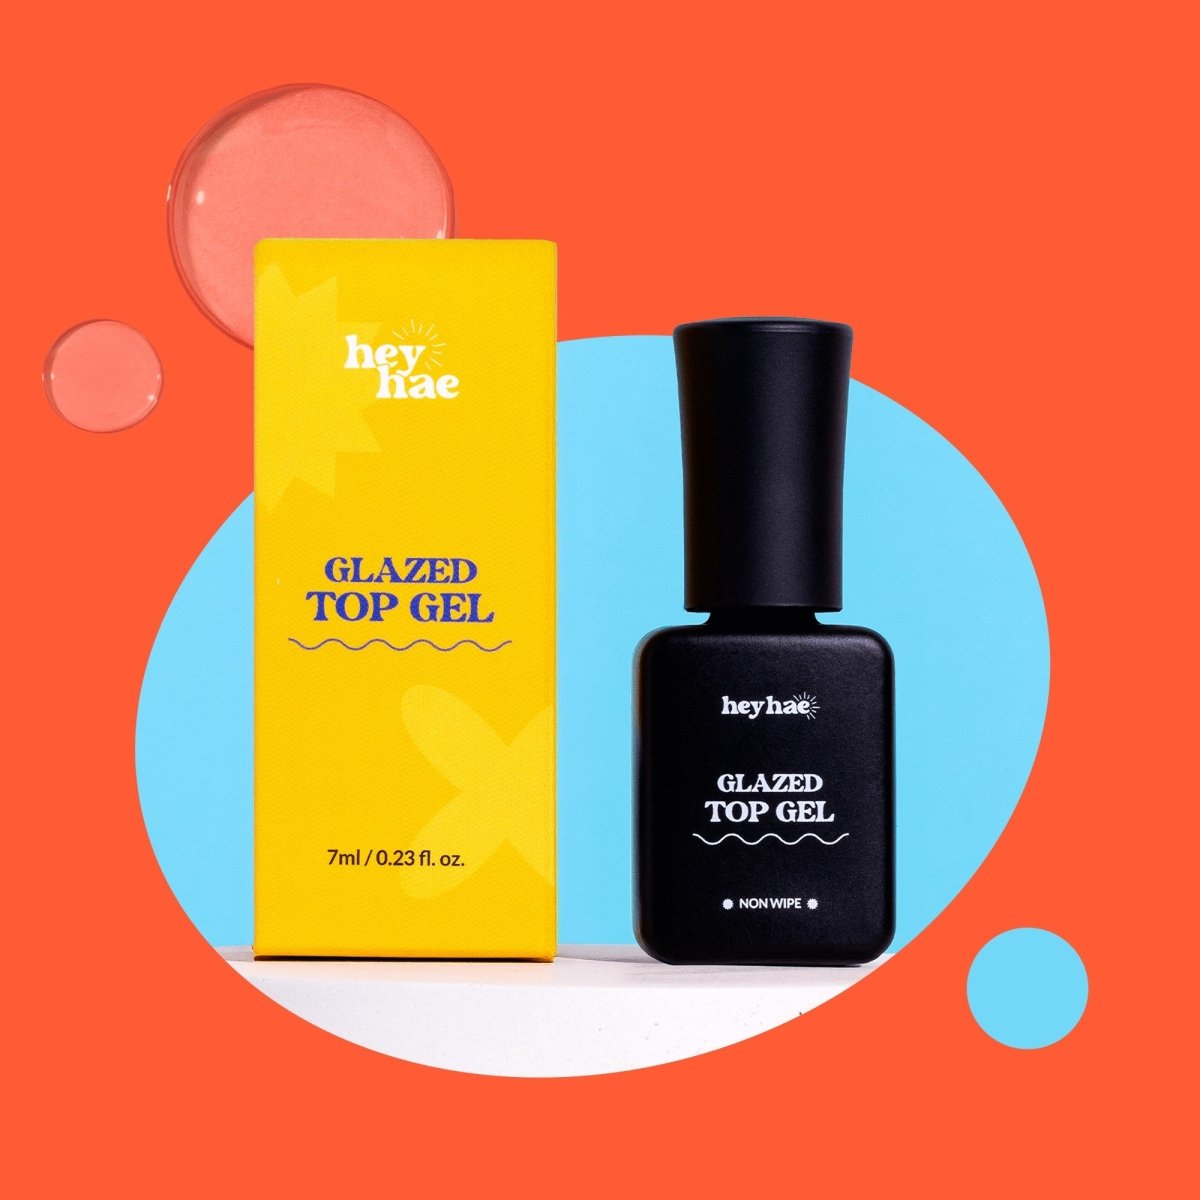
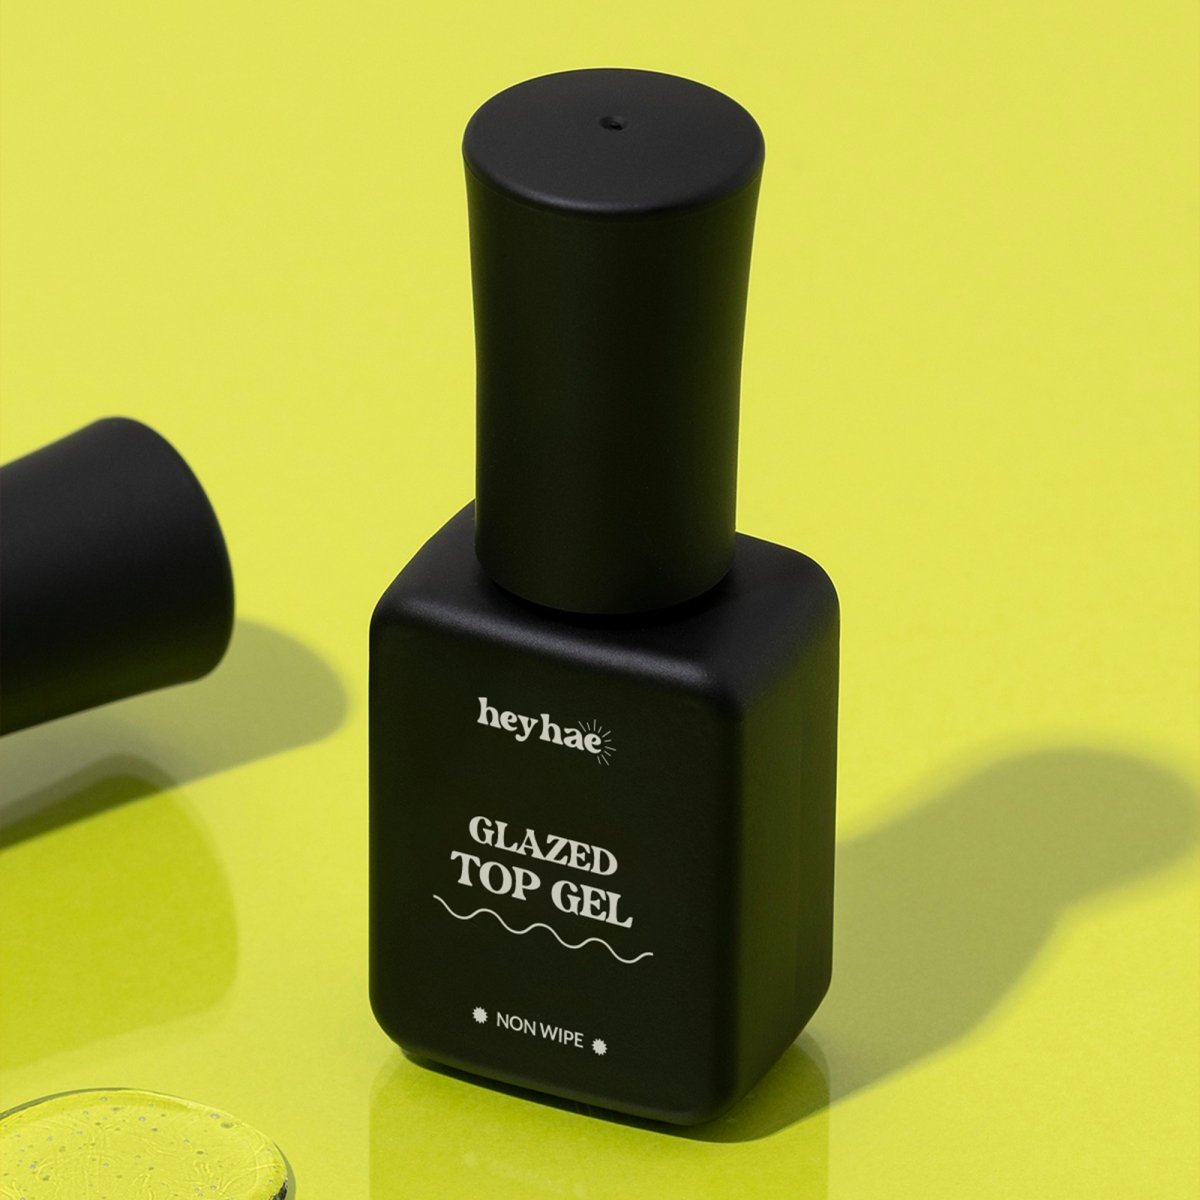
Glazed Top Gel
After applying the gel nail strips, apply the Glazed top gel for radiant finish. Cure under the LED light for 30- 60 seconds.
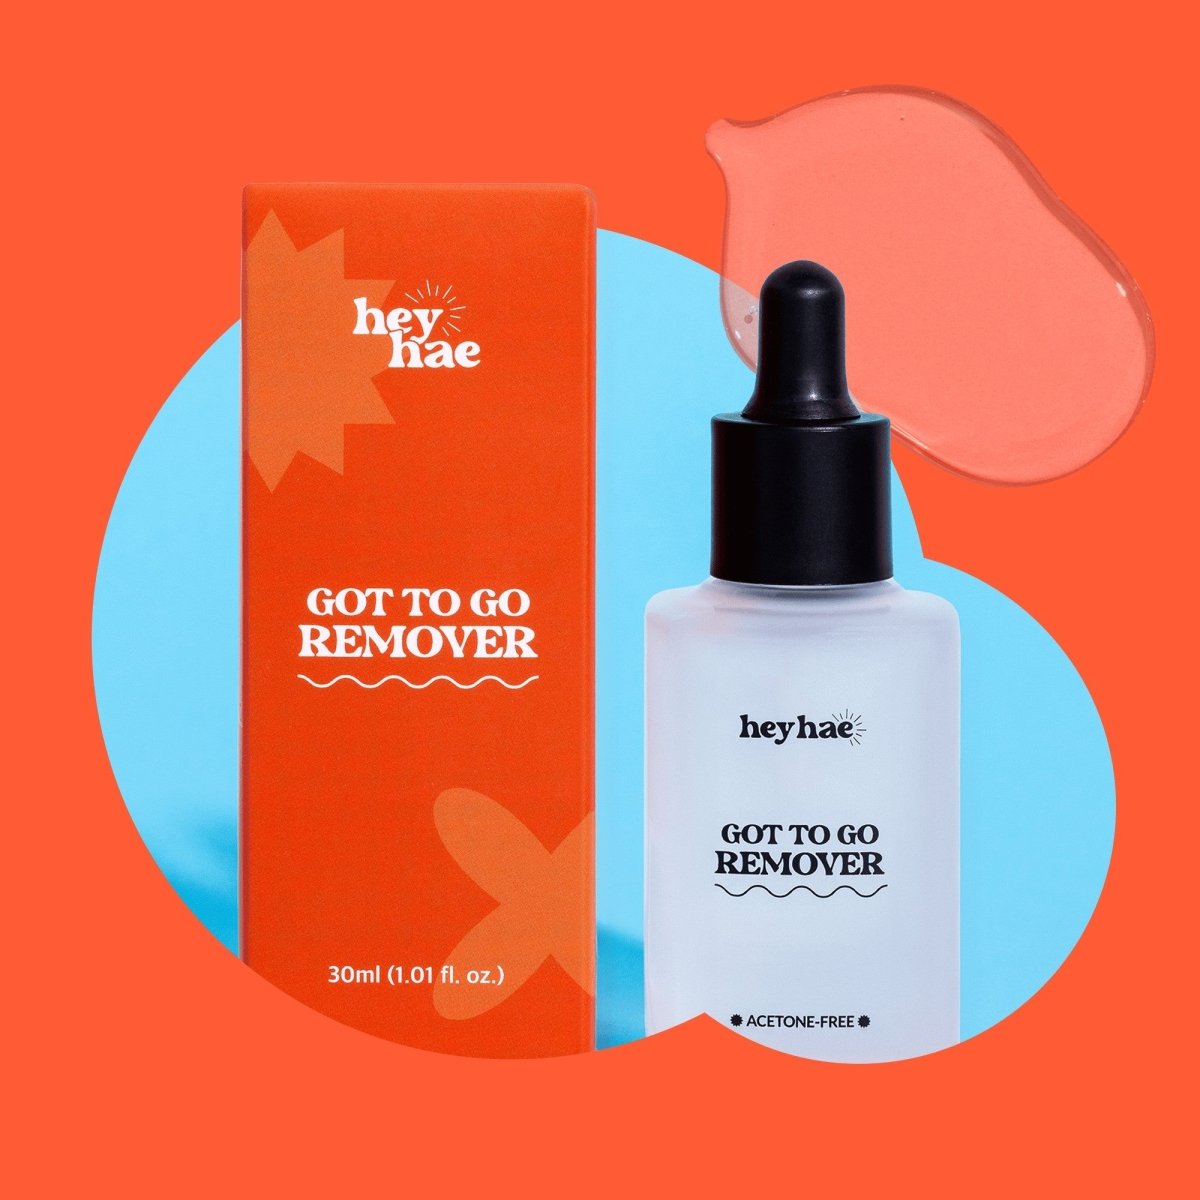
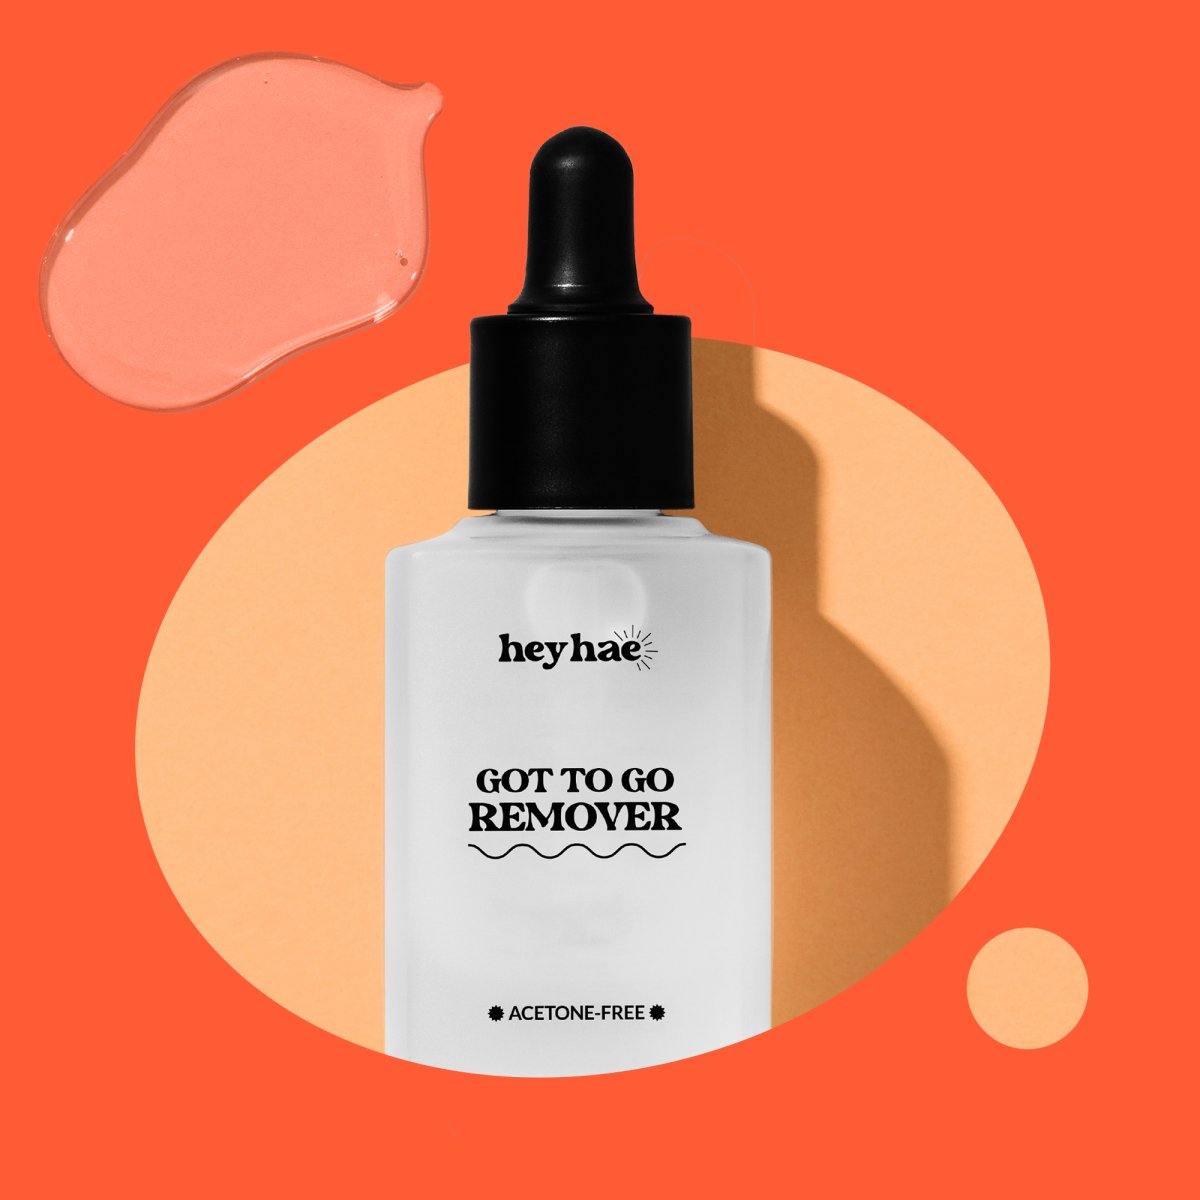
Got to go Remover
1. Apply a few drops of “Got To Go Remover” on the cuticle line strip and let it soak in to help lift it. Then, using the provided wooden stick, gently peel the gel strip off from the edge towards the center of the nail.
2. Wash your hands and hydrate your nails with cuticle oil or a nourishing nail cream.
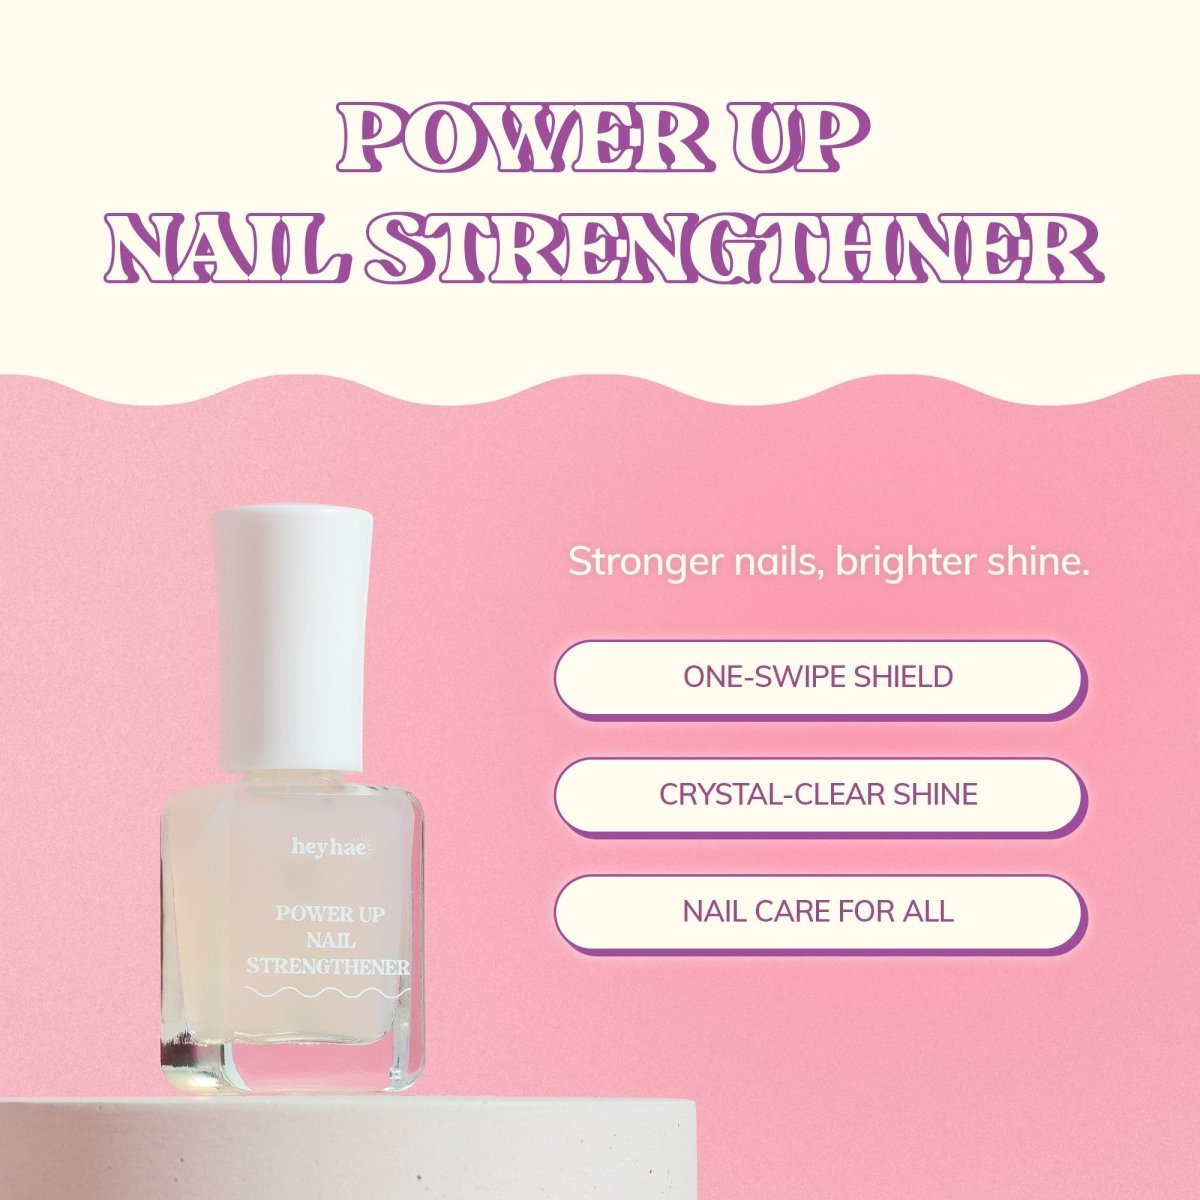
Power up Nail Strengthener
1. Clean and dry your nails, removing any leftover polish.
2. Apply a thin coat of Power Up Nail Strengthener directly onto your natural nails and add extra coats if desired.
3. Let each layer air-dry for a few minutes.
4. Remove with nail-polish remover before applying strips or color.
SHIPPING & DELIVERY
We aim to ship your order within 24 hours of placement. However, please note that occasional slight delays may occur, though we strive diligently to adhere to this timeframe. See FAQs for more info.