Hey,
Fab Flair Collection
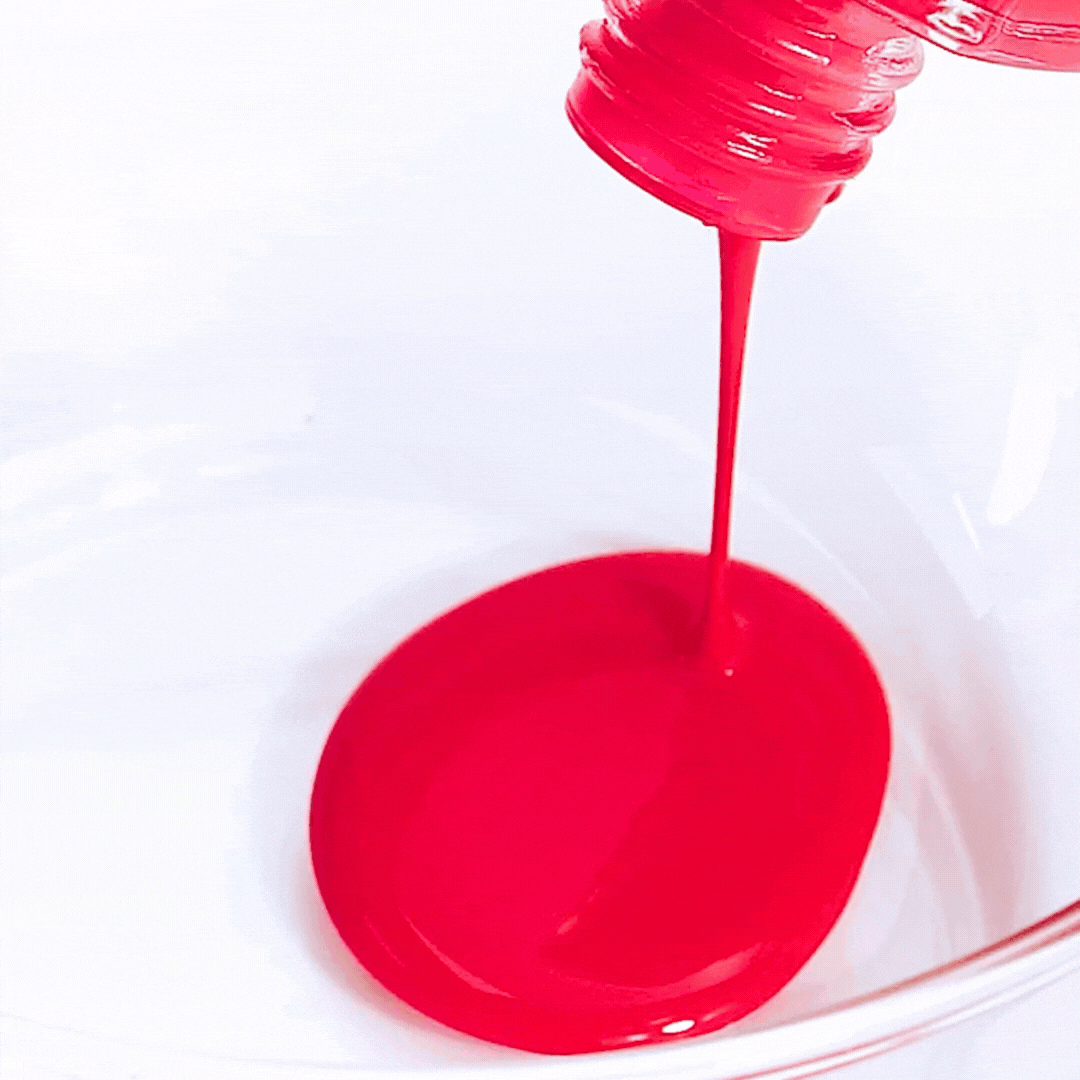
What's in it: 4 Gel nail pouches 28 strips, 1 Prep pad, 1 Nail file, & 1 Wooden stick. No LED required
HOW TO APPLY & REMOVE
[How To Apply]
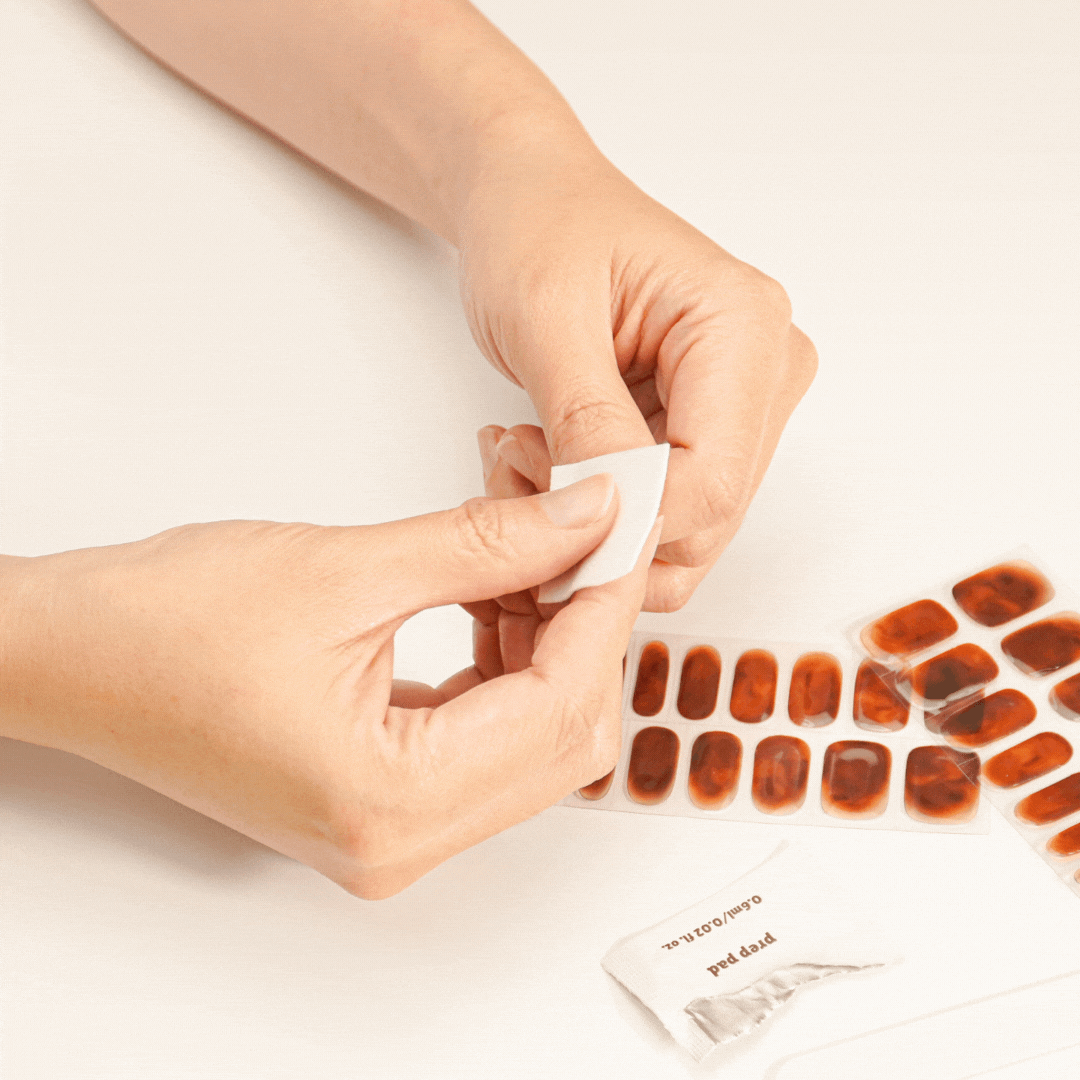
Step 1: Prep Your Nails
Begin with clean, dry nails and push back your cuticles. Lightly buff your nails to create a smooth surface if needed. Then, use the included prep pad to eliminate any oils or residue.
Step 2: Choose Your Size
Select the gel nail strip that best fits each nail. If in doubt, choose the smaller size to avoid overlapping onto the skin or cuticles.
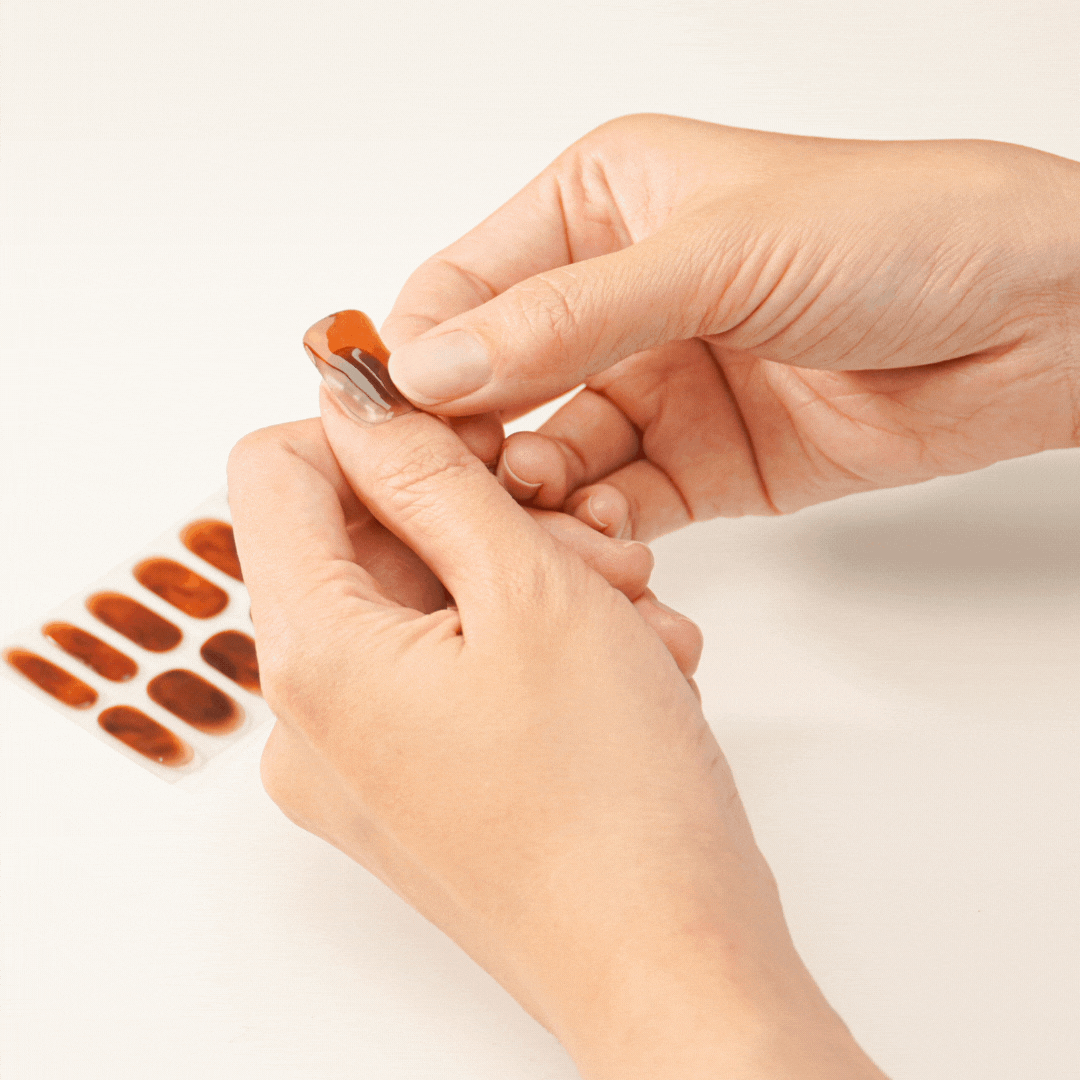
Step 3: Apply the Strips
Peel off the backing and carefully place the gel strip on the nail, starting from the cuticle line. Smooth it out towards the tip and press down firmly to ensure it was properly applied.
*Tip to stretch nail strips: Use your palm to warm them up. Once the strips are warmed, they can be easily pulled for the perfect fit on your nails. Attach the nail strip along one side of the nail, and then stretch it to fit the other side of the nail. If you pull the nail strip with both hands, the adhesive may weaken, or the gel nail may stretch excessively, ruining the design.
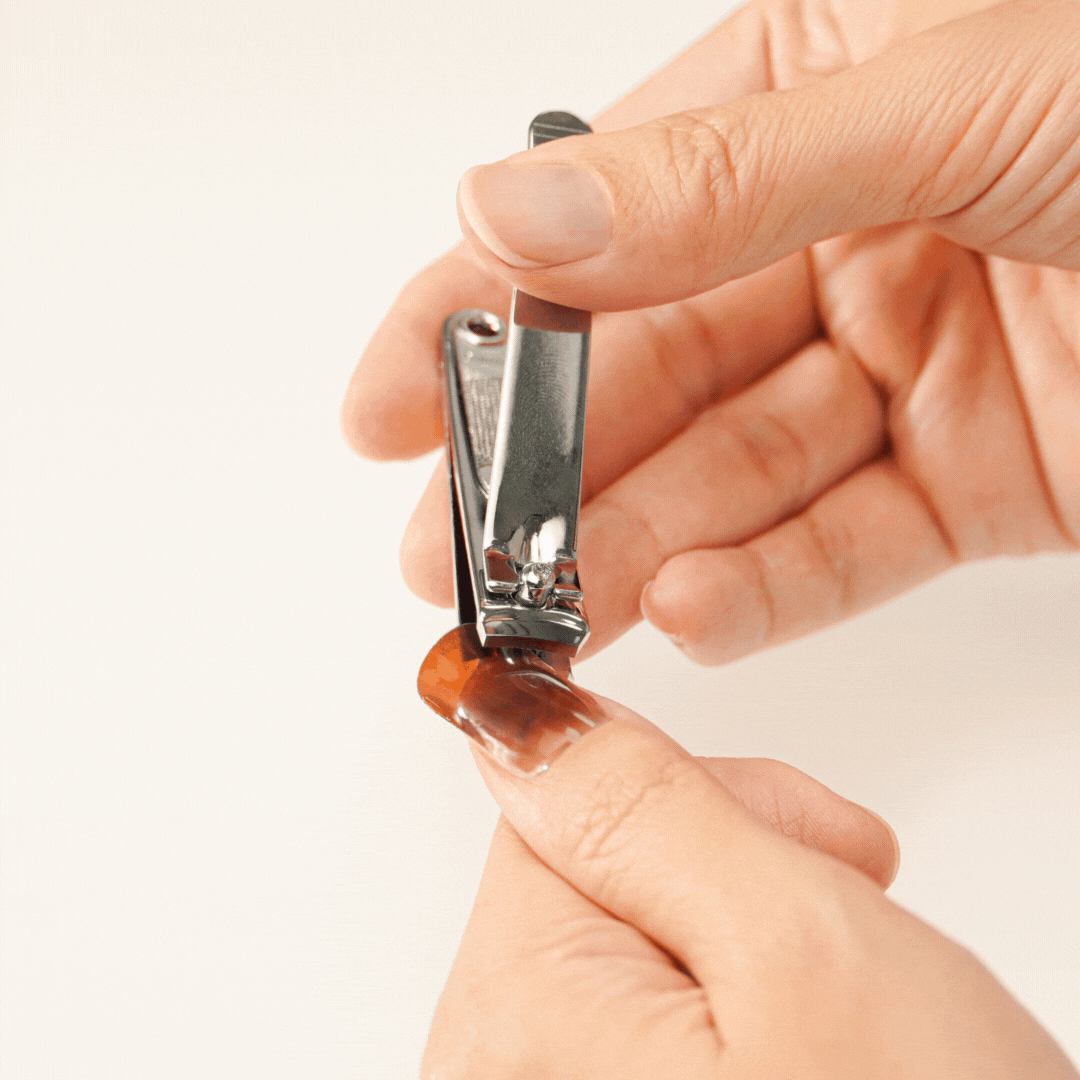
Step 4: Trim
Use cuticle scissors or nail clippers to trim excess gel strips.
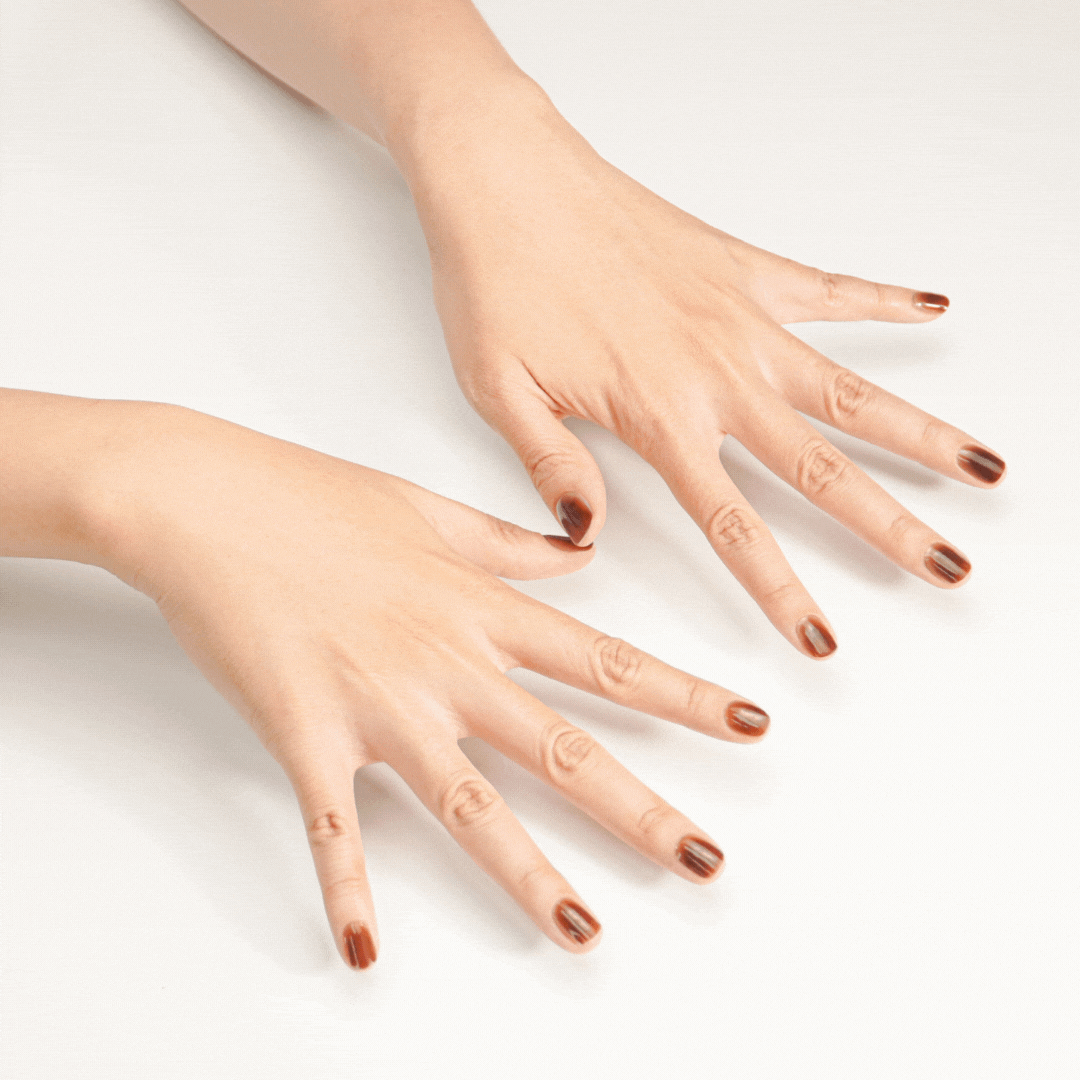
Step 5: Cure
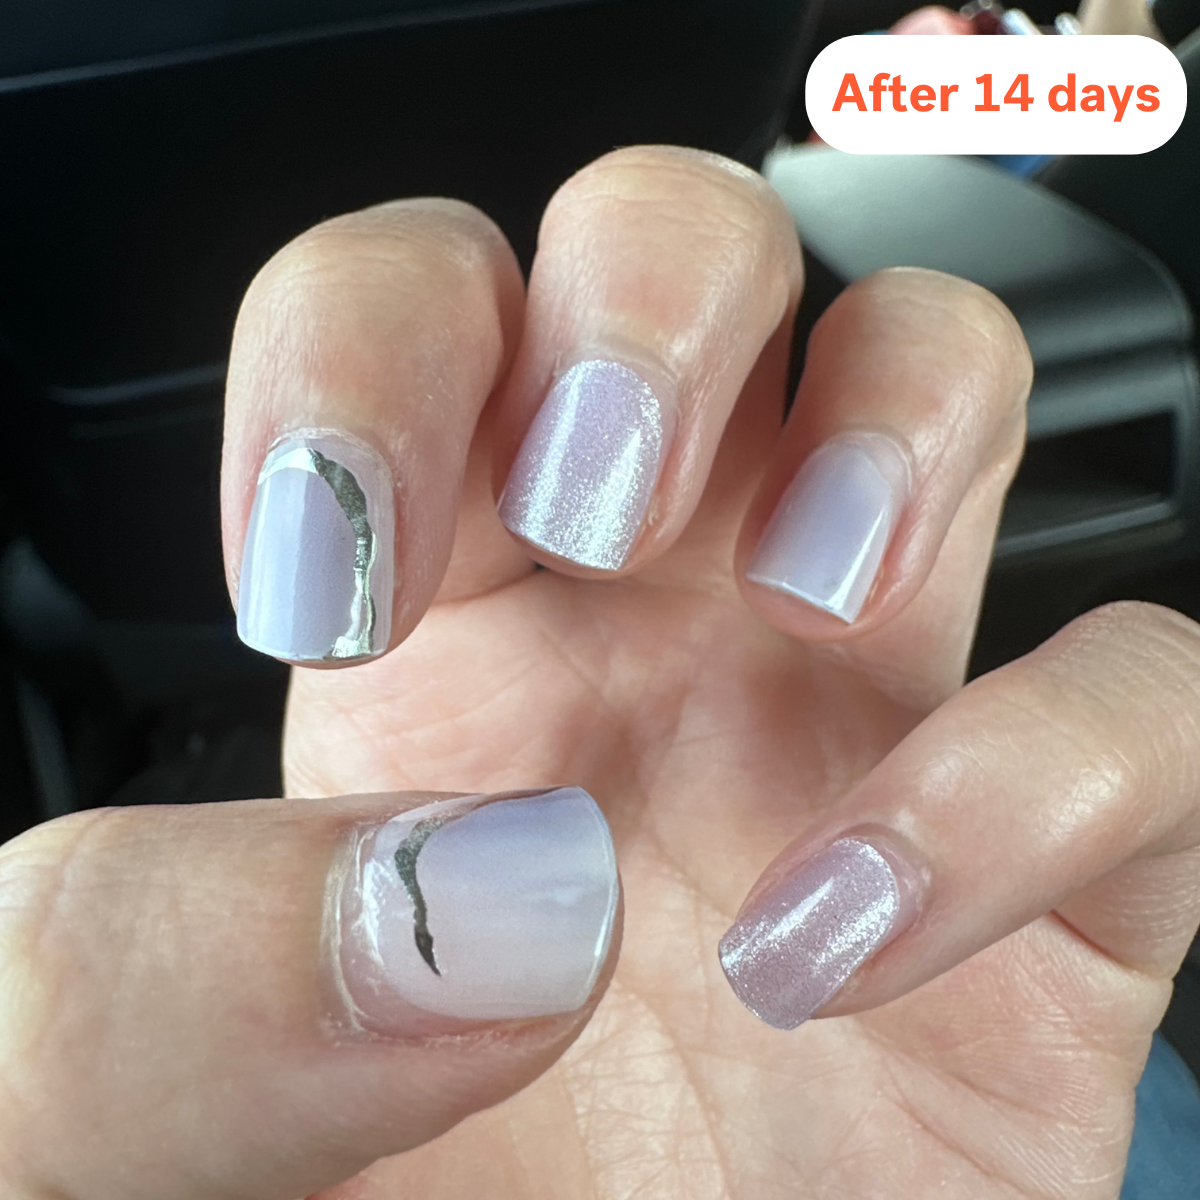
The strips cure instantly under the light, but for optimal results and longevity, expose them to sunlight for a few minutes. Once cured, shape the nail strip to your desired shape with a nail file.
*Tip 1: No natural sunlight? No worries. Cure it under UV/LED lamp just for 5 seconds!
* Tip 2: File downwards to achieve the perfect shape.
Step 6: Store
Store unused strips in the pouch to protect them from sunlight.
[How To Remove]
Step 1: Peel Off
Apply a few drops of “Got To Go Remover” on the cuticle line strip and let it soak in to help lift it. Then, using the provided wooden stick, gently peel the gel strip off from the edge towards the center of the nail.
Step 2: Clean & Nourish Your Nails
Wash your hands and hydrate your nails with cuticle oil or a nourishing nail cream.
INGREDIENTS
SHIPPING & DELIVERY
We aim to ship your order within 24 hours of placement. However, please note that occasional slight delays may occur, though we strive diligently to adhere to this timeframe. See FAQs for more info.