DIY Gel Nails: Your Ultimate Starter Bundle Guide
Get ready to transform your nail game with a DIY gel nail starter bundle! You can now create stunning, long-lasting manicures at home without expensive salon visits. This guide will teach you everything you need to know about making professional-looking gel nails on your own. You'll learn how to master at-home gel manicures, saving time and money while getting great results.
Key Takeaways:
- DIY gel nail kits offer a cost-effective alternative to salon visits
- heyhae gel nail strips are pre-cured and cure in natural sunlight
- Proper nail preparation is crucial for long-lasting results
- Application technique improves with practice
- Aftercare and maintenance can extend the life of your manicure
What's in Your DIY Gel Nail Kit?
Let's look at what you'll find in a typical heyhae gel nail starter bundle. These kits have everything you need for a perfect at-home manicure. You won't need to buy lots of separate things, and you'll have all the important tools right there. Knowing what each part does will help you get the most out of your DIY gel nail experience.
The Magic of heyhae Gel Nail Strips
heyhae's gel nail strips are the star of your DIY gel nail adventure. These amazing strips make home manicures super easy. Unlike regular gel polish that needs lots of steps and special equipment, heyhae strips make the process simple but still give you great results. Here's why they're so cool:
- They're made of 100% real gel that's already 60% cured, so they don't take long to apply
- You don't need a fancy LED lamp - they cure in natural sunlight, so you can use them anywhere
- They last for over two weeks if you take care of them, just like salon gel manicures
- You can put them on anywhere - at home, in the car, or even at the beach
- The strips come in lots of colors and designs, so you can be really creative
- They're safer for your nails than regular gel polish because you don't need harsh chemicals to remove them
Getting Started: Prep Like a Pro
Before you put on those pretty gel strips, you need to get your nails ready. This step is really important to make your manicure last and help the gel strips stick well. Good preparation can make your manicure last for weeks instead of just a few days. Here's what to do:
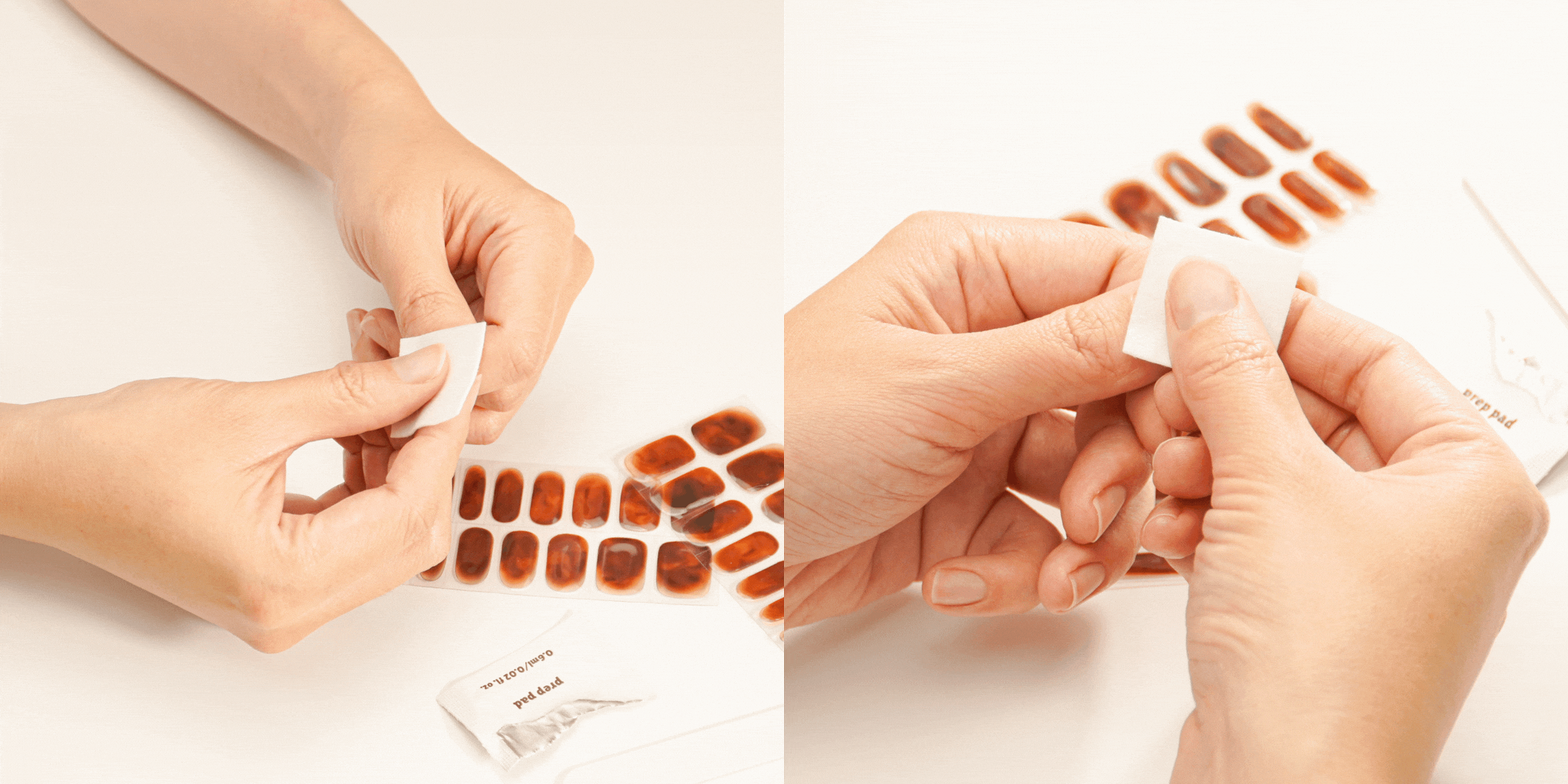
- Clean your nails really well with the prep pad to get rid of any oils or lotions
- Gently push back your cuticles with the wooden stick, being careful not to hurt the skin around your nails
- File your nails to the shape you want, making sure they're smooth and even
- Lightly buff the top of your nails to help the gel stick better
- Wipe your nails one more time with the prep pad to remove any dust from filing and buffing
Remember, taking your time with prep will make your DIY gel manicure look better and last longer! Well-prepared nails are the key to a great, long-lasting manicure.
Applying Your heyhae Gel Nail Strips
Now for the fun part - putting on your gel nail strips! This is where the magic happens, turning your nails into little works of art. Follow these steps to apply each strip perfectly:
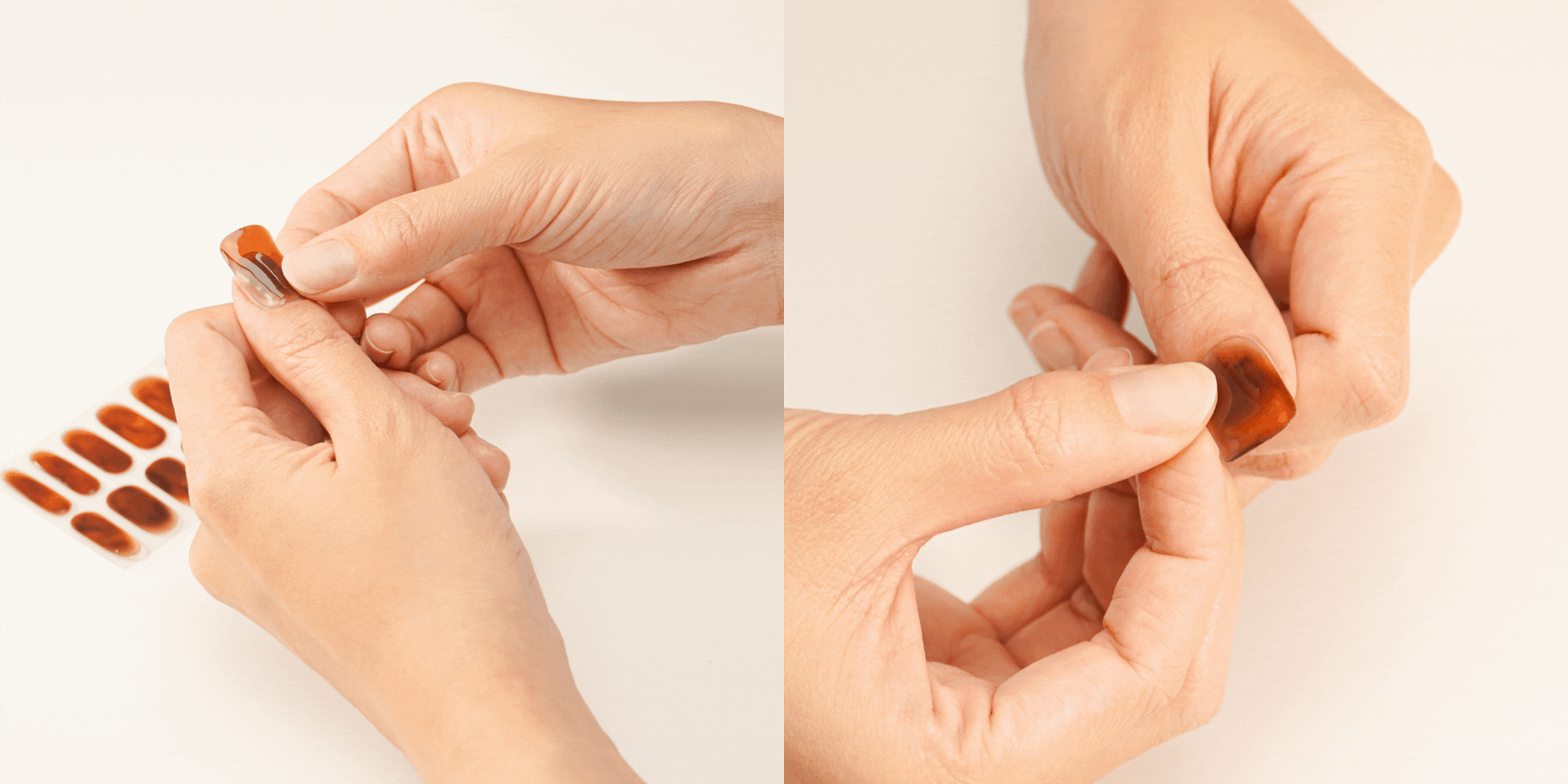
- Pick a strip that fits your nail size, making sure it covers from side to side without going onto your skin
- Carefully peel the strip off its backing, handling it gently to keep its shape
- Place the strip at your cuticle line, lining it up as close to the skin as you can without touching it
- Smooth the strip down towards the tip of your nail, pressing firmly to get rid of any air bubbles
- Trim any extra with nail scissors or gently file it off, making sure it fits perfectly at the tip of your nail
- Hold your hands in direct sunlight for about 60 seconds to cure the gel, helping it harden and set
- Do this for each nail, taking your time to make sure each one is applied just right
Pro tip: If it's nighttime or cloudy, you can use a regular LED flashlight to cure your nails. Just hold it close to each nail for about 30 seconds. This means you can do your nails anytime, anywhere, without needing sunlight or special equipment.
The Perfect Finish: heyhae's Glazed Top Gel
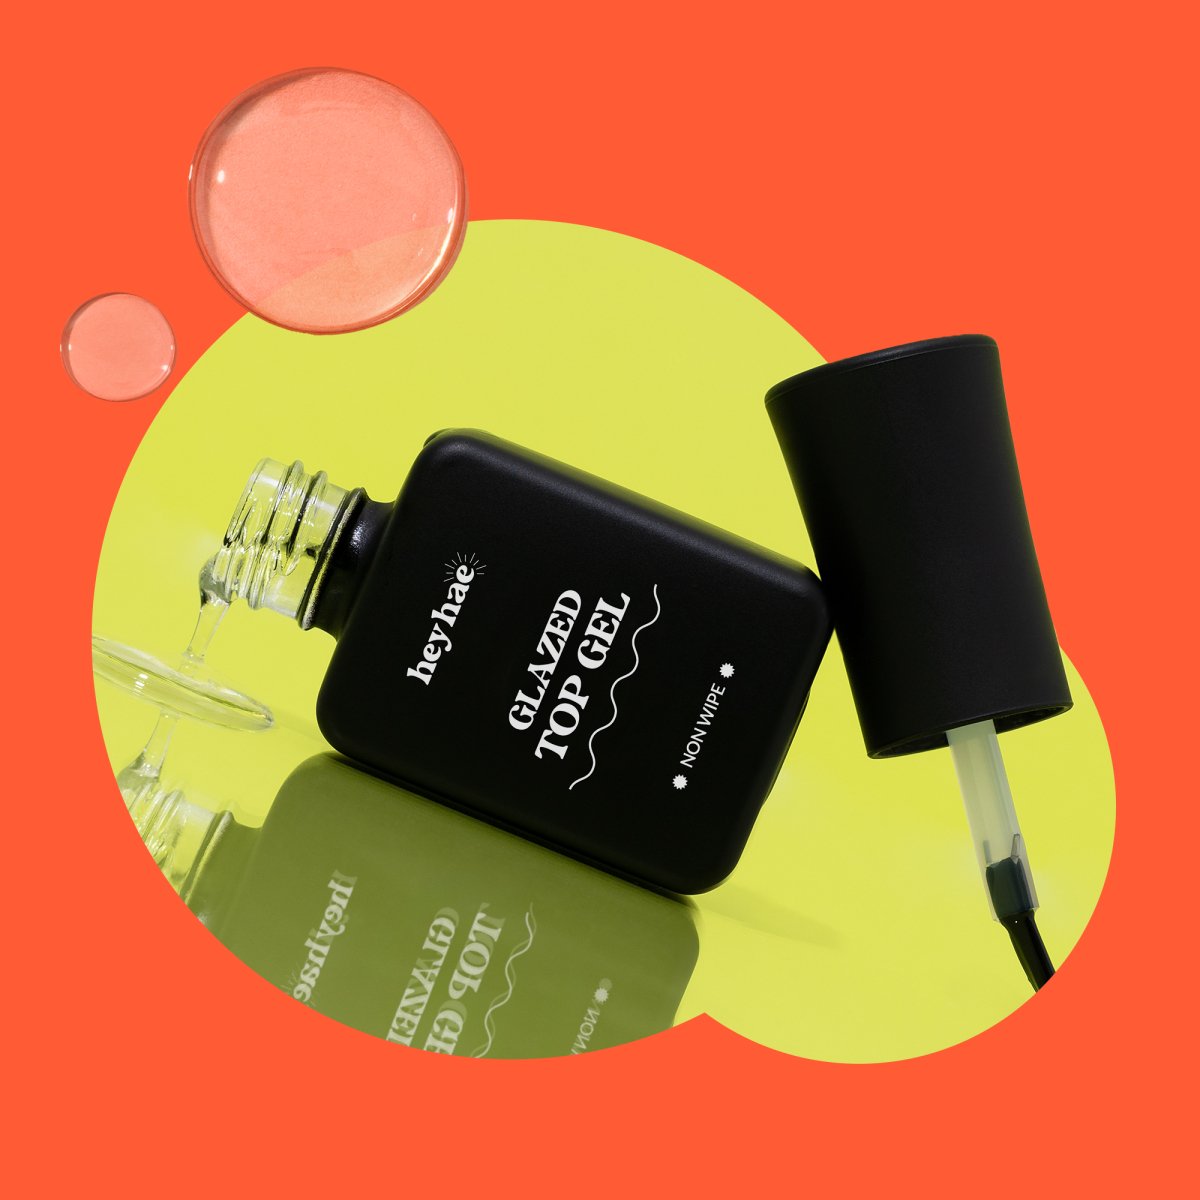
Want to make your DIY gel nails even better? Add a layer of heyhae's Glazed Top Gel for extra shine and protection. This special top coat makes your nails look like you just left the salon. Here's why it's so great:
- It seals and protects your gel nail strips, making them last longer
- The high-gloss finish makes your nails look super professional
- It helps stop chipping and peeling, keeping your manicure looking perfect
- It dries quickly and is easy to put on, so it's great for touch-ups
To use the Glazed Top Gel, just brush a thin layer over your cured gel nail strips and put them in sunlight or under an LED light for 60 seconds. This last step will make your manicure last even longer and give it that shiny, professional look you want.
Removing Your Gel Nails Safely
When you want to change your nail look, you need to take off your gel nails carefully to keep your real nails healthy. Taking them off the wrong way can hurt your nails, so it's important to do it right. heyhae's Got to Go Remover makes this easy and gentle, keeping your real nails strong and healthy:
- Start by washing your hands really well to get rid of any dirt or oils
- Gently file the top of your gel nails to break the seal, but be careful not to file too much
- Put the Got to Go Remover on a cotton pad, making sure it's nice and wet
- Put the wet pad on your nail and wrap it up in foil to keep it in place
- Wait about 10-15 minutes for the remover to loosen the gel
- Gently push off the gel with the wooden stick, using light pressure so you don't hurt your nail
- If there's still some gel left, put on more remover and wait a few more minutes before trying again
- When all the gel is off, wash your hands and put some moisturizing oil on your nails and cuticles
- Let your real nails breathe for a day or two before putting on new gel nails
Remember, don't rush when you're taking off your gel nails. Going too fast can hurt your nails, so take your time and be gentle.
Choosing Your Perfect Gel Nail Design
One of the best things about DIY gel nails is picking from lots of fun designs. heyhae has many colors and patterns to match any style or event, so you can show your personality through your nails. Here are some tips for picking and creating the perfect gel nail look:
- Think about the season and any events coming up when you choose your design
- Try mixing different patterns on some nails for a fun look
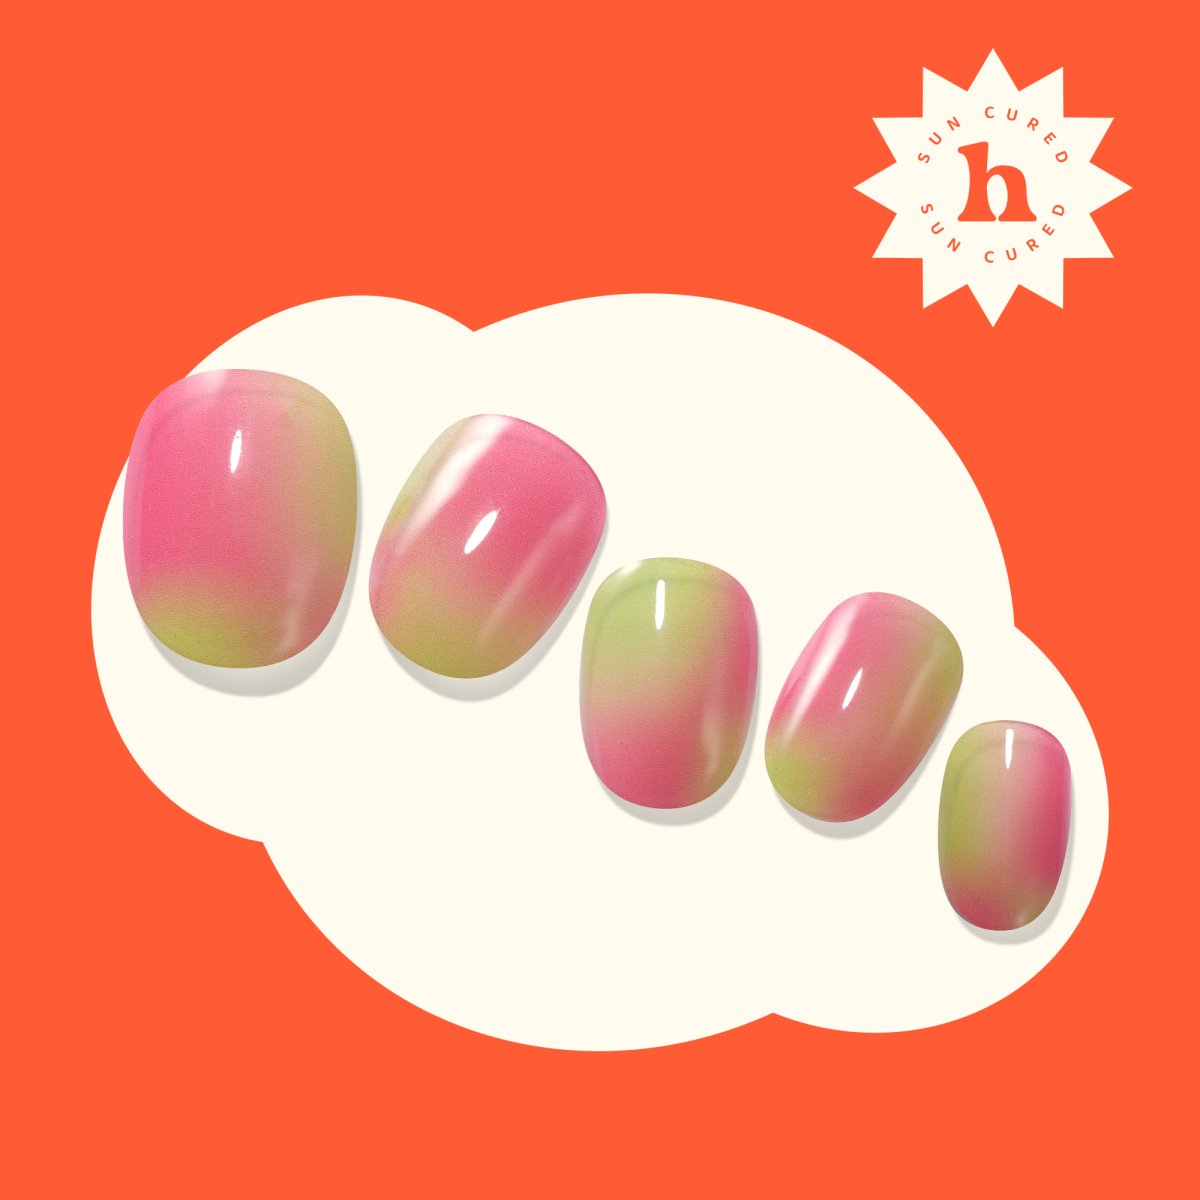
- Experiment with fading one color into another for a cool effect
- Try geometric shapes for a modern, edgy look
- Pick classic nude colors for a versatile, professional look
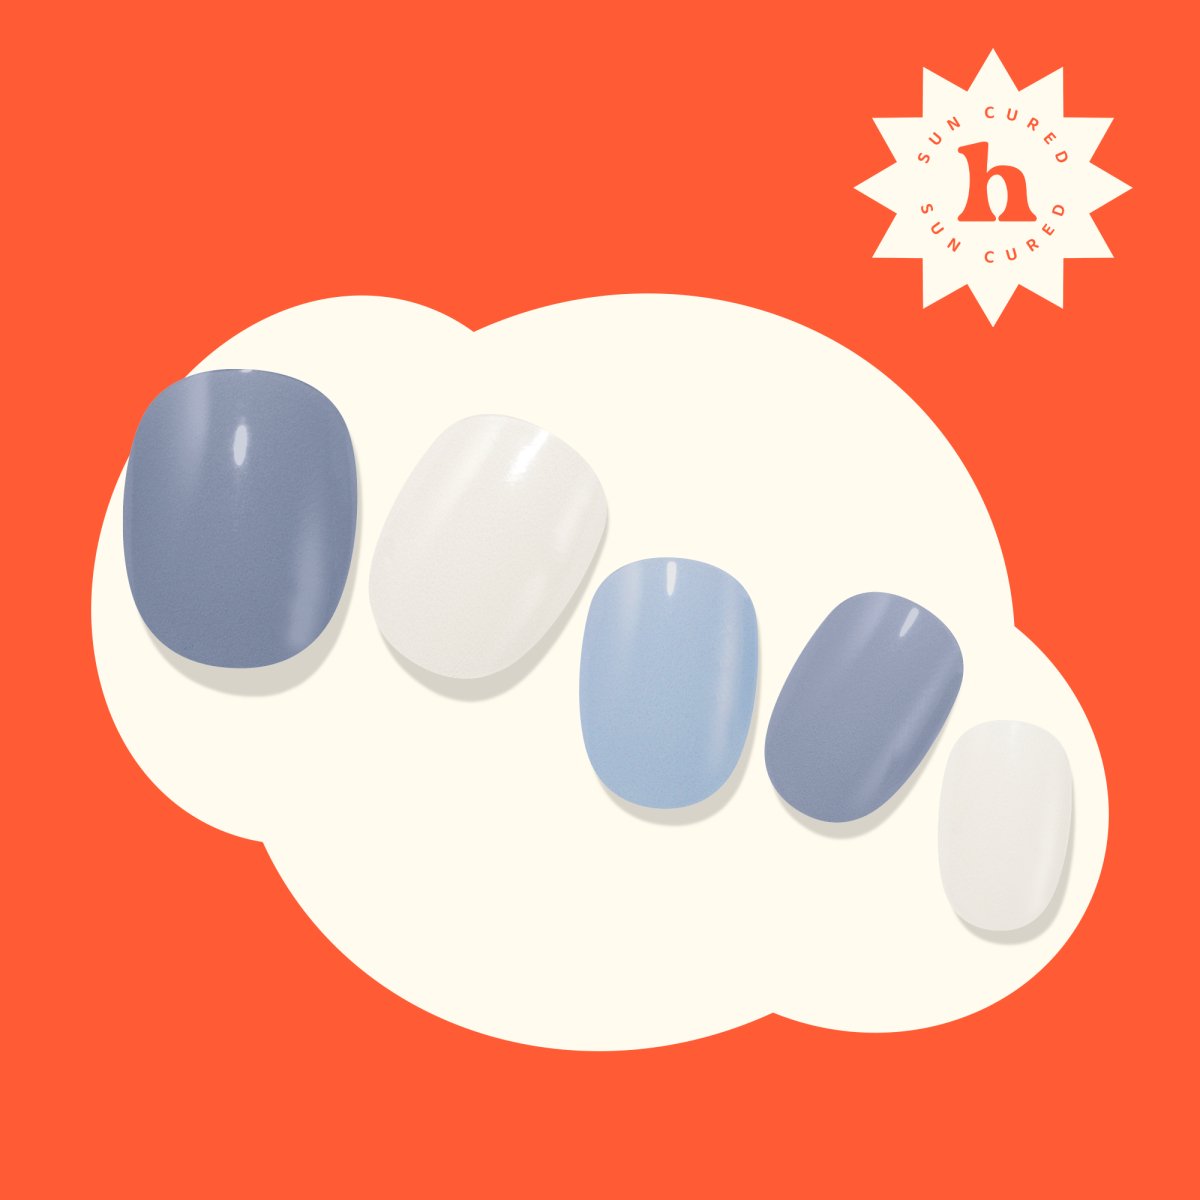
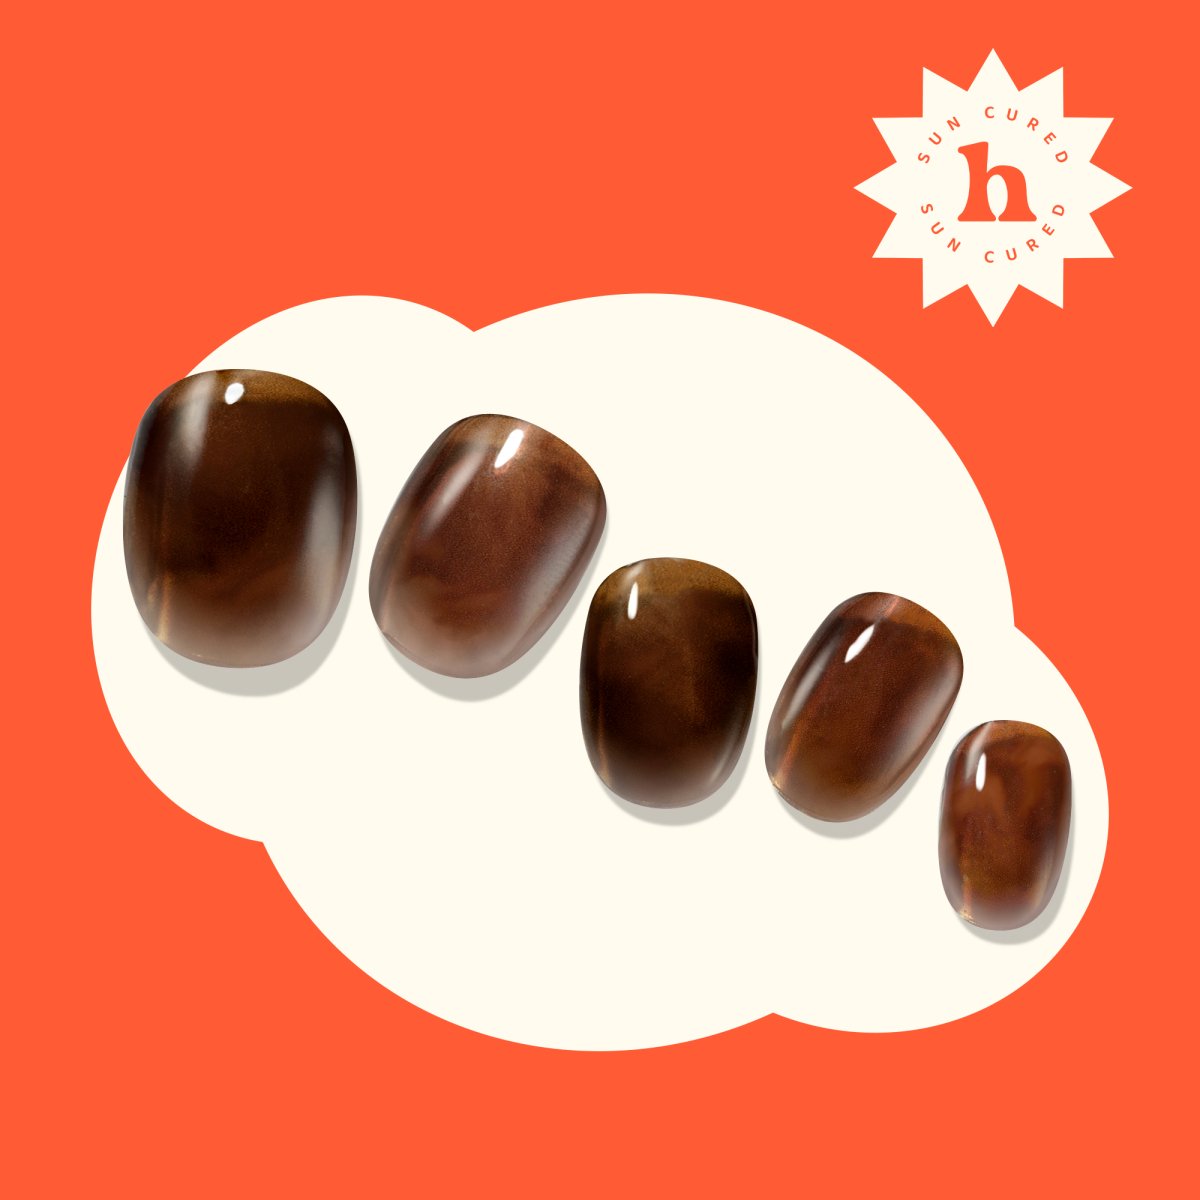
Check out some popular options:
Whether you like bright colors, soft nudes, or fun patterns, there's a heyhae gel nail design for you. Don't be afraid to mix and match to create a unique look that shows off your style!
Tips for Long-Lasting DIY Gel Nails
Want your at-home gel manicure to last as long as possible? Taking good care of your nails can make your manicure last much longer. Try these expert tips to keep your nails looking fresh and perfect:
- Wear gloves when doing dishes or cleaning to protect your nails from harsh chemicals and too much water
- Put cuticle oil on your nails every day to keep them and your skin moisturized, which stops peeling and lifting
- Don't pick at or peel your gel nails, as this can damage both the gel and your real nails
- Use hand lotion often to protect your manicure and keep your hands looking young
- If you get any chips, touch them up with a matching regular nail polish to keep them looking perfect
- Avoid very hot or very cold temperatures, which can make the gel expand and contract
- Be gentle with your nails, and don't use them as tools for opening cans or scratching things
- Put on a thin layer of top coat every few days to make them shiny again and add extra protection
If you take good care of them, your heyhae gel nails can last up to two weeks or more! Remember, how long your manicure lasts depends on your lifestyle and how well you take care of your nails.
Troubleshooting Common DIY Gel Nail Issues
Even when you use the best techniques, you might run into a few problems with your DIY gel nails. Don't worry - most issues have easy solutions. Here are some common problems and how to fix them:
- Bubbles: Make sure to smooth out the strip carefully when you put it on. If you see bubbles, try gently pressing them out with the wooden stick before curing.
- Lifting edges: Try using a smaller strip or trimming the extra more carefully. You can also try putting a tiny bit of nail glue on lifting edges to stick them down.
- Not shiny enough: Add another layer of top coat or cure for a little longer. Make sure you're using enough top coat to get the shine you want.
- Chipping too soon: Make sure your nails don't have any oil on them before you apply the gel. You can also try "capping" the edge of your nail with gel to stop chipping.
- Wrinkles in the gel strip: Warm the strip a little with your hands before you put it on to make it easier to smooth out.
- Difficulty removing: If the gel isn't coming off easily, try soaking for longer or gently filing the top layer more before using remover.
Remember, practice makes perfect! Don't get upset if your first try isn't as good as a salon manicure. Each time you do your nails, you'll get better and faster at applying your gel nails. Keep trying different techniques and designs to find what works best for you.
Conclusion: Your DIY Gel Nail Journey Starts Here!
Congratulations! Now you know everything you need to start your DIY gel nail adventure. With heyhae's starter bundle and these helpful tips, you'll be creating beautiful, long-lasting manicures in no time. Remember, the key to great at-home gel nails is being patient, practicing, and having fun with it!
As you start your DIY gel nail journey, remember that getting really good takes time and practice. Each manicure is a chance to improve your technique and try new designs. Don't be afraid to experiment with different colors, patterns, and ways of applying the gel to find what works best for you. With heyhae's cool gel nail strips and your new skills, you can do salon-quality manicures at home, saving time and money while showing off your unique style.
Ready to start your DIY gel nail journey? Check out heyhae's full collection of gel nail products and find your perfect starter bundle today. From classic colors to trendy designs, there's something for everyone. Happy nail decorating, and enjoy your beautiful, long-lasting gel manicures!


